About Me

I am a stay at home mom addicted to anything and everything homemade. The quality of products and taste are much better homemade. Everything is better homemade.
Powered by Blogger.

Wednesday, January 25, 2012

Best Flaky Drop biscuits EVER & dry mix to have on hand!

.
I would love to say I always have dinner planned a week in advance and even if I do, I would love to say that I plan my day perfectly to always start dinner on time.  Well, that is not the case most of the time.

I love drops biscuits because they are something you can throw together at the last minute, they are easy and crazy good!

Honestly, these are the best drop biscuits I have EVER had.  I love flaky biscuits and boy are these flaky!

Ingredients:
3 cups flour (your choice wheat or white)
4 tbsp sugar
1 tsp salt
3/4 tsp cream of tarter
1 cup milk or butter milk
3/4 cup butter- softened

Preheat over to 450 degrees

Mix all dry ingredients together.  Cut butter into dry ingredients until crumbly.  This part is REALLY important if you want your biscuits flaky.

Pour milk into dry ingredients and fork together ONLY until moist.  The less you stir it the better.

Grab a good handful of dough and flatten in your hand to about 1 inch thick.  If you want them super cute you can use a cookie cutter. Place on cookie sheet.

Cook for 10 minutes

That’s it.  Crazy easy!!

Do you want to make this recipe even easier?  This is the best part.  I do not like to use premix stuff you buy at the store.  Short answer, they are just not good for you.

This is a great way to have ready made mix.

Measure out all dry ingredients and place them in a ziplock bag, jar, or any way to store them air tight.  Make a couple of them just to have on hand.  Put a label on them that says Biscuit Mix
¾ cup butter softened
 1 cup milk

Cut in butter until crumbly
Fork in milk until just moistened
 Bake at 450 for 10 mins.

That’s it.  You know exactly what’s in there you can even pronounce everything. 

Thai Butternut Squash Soup


Finally, we actually have some winter weather.  Is there anything better to enjoy on a winter night than hot soup and flaky biscuits?

I thought I would share two of my favorite winter squash soups.

The first one was given to my from my brother in law and let me tell you it is AMAZING!  Ok, beyond amazing! It has the perfect combination of spices and heat that screams for you to eat WAY too much. I promise this one will not disappoint.

Thai Butternut Squash soup

Serves 10-12

Ingredients:
1 lg butternut squash
2 cans Coconut milk
1 lg onion, peeled and chopped
2 cloves garlic, peeled and chopped
1 tbsp oil (I like coconut oil but any will do)
1 1/2 tsp curry powder (make sure it does not have MSG aka Monosodium glutamate)
1 1/2 tsp salt
2 cubes veggie bouillon (make sure it does not have MSG aka Monosodium glutamate)
2 tbsp sugar or ripe pear
Garnish with cayenne pepper

1.)    Peel the butternut squash, slice and scoop out seeds.  I like to cube the squash then boil it until soft or you could cube it and microwave it for 13-15 minutes.
2.)    Put squash in blender with 2 cans coconut milk, and 1 can refilled with water.  If it is too thick add another can of water.
3.)    Meanwhile, sauté 1 large onion and 2 cloves garlic in 1 tbsp oil.
4.)    Add onions and garlic to blender and puree until smooth.
5.)    Add curry powder, salt, bouillon, and pear or sugar.

Pour into individual bowls and enjoy!

*Don’t forget to garnish with ground cayenne pepper.  It makes the whole dish!!  Just a small amount goes a long way but it has a perfect heat.

This next soup is really easy and perfect for those who do not like curry/Thai foods.

Butternut Squash soup

1 large butternut squash
3-4 large potatoes
1 large onion
Broth homemade or store bought
Whipping Cream
Salt and pepper to taste
1.)    Peel the butternut squash, slice and scoop out seeds. 
2.)    Cube squash, potatoes, and onions
3.)    Place in a large pot and fill pot with broth to just over squash and potatoes
4.)    Boil until everything is cooked and soft
5.)    Pour soup into a blender and puree
6.)    Salt and pepper to taste

Pour into bowls and just a dollop of whip cream is perfect!  Enjoy!!

Thick homemade Greek yogurt


I just love good thick Greek yogurt but like most people I do not love the price.  Making homemade yogurt was nothing new to me so I knew there had to be a way to make Greek yogurt.  I just didn't know it would be soooo easy.

After trying it many different ways, I found this one turned out the best.

This may look like a lot of work or steps but really it's not. Most of the magic is done while you are playing with your kids or watching a movie.

Let's get started

Ingredients
1 gallon milk (I use full fat but any kind will work)
2 cups whipping cream (optional)
1/4 cup plain yogurt (with LIVE cultures) or 1/4 cup plain homemade yogurt
thermometer

In a large pot, pour in a full gallon of milk and 2 cups whipping cream.  Turn stove on to Med-Low.  Cook slowly until it reached 180 degrees.  If you do not have a thermometer, buy one.  No really, they are only a couple dollars and I use mine ALL the time.  There are ways to judge if you do not have one but I don’t think it’s reliable.

Once it reaches 180 degrees, remove from heat.  Let it cool down until it reaches about 108-110 degrees.  At that point take out about a cup of milk and mix that and ¼ cup yogurt into a bowl.  Then mix it with the rest of the milk batch.  I have read some believe this is not a necessary step.  I do it, but the choice is yours. 


Now if you are lucky enough to have an oven that goes down to 110 degrees, just put your pot of milk in the oven.  I am not so luck and most people I assume won’t be either. There are many different ways to work around that, but this is my favorite and it works faster than the other methods.  Pour your yogurt into canning jars (once again if you don’t have them, you are missing out!  I use them for EVERYTHING). 


I like to place the canning jars into a big pot filled 1/3 the way with water ( do not get water in the jars). Turn the stove on LOW and then place your thermometer on the side of the pot to make sure it does not go over 110 degrees.  Warm on the stove for about 4 hours.  Just check about every ten minutes or so just to make sure your stove does not spike.  Hint:  If you check your yogurt at 3- 3 1/2 hours and it still looks like milk, you are fine.  There is something magic that happens the last 30 minutes.  Sometimes I let mine cook just a little longer if it does not look thick enough yet.  Keep in mind the longer your warm it the stronger (tart) the taste will be.  I warmed mine yesterday for about 4 hours 15 minutes and it turn out amazing.  It is yummy enough to eat plain. 

Now if you wanted normal yogurt you could just take the jars and place them in the fridge for a few hours.  But if you want thick yogurt aka Greek yogurt then you have one more step.

The only difference between normal yogurt and Greek yogurt is that it is strained. 

To strain the yogurt you will need some cloth to strain it with.  Cheese cloth is just to thin, so either you put a lot of layers or just a plain cotton t-shirt fabric will work perfect!


Place your colander in a bowl and then your fabric in the colander.  Pour the yogurt in the colander.  Let it drain for about 6+ hours.  You can leave it on the counter to drain or in the fridge.  After it is done draining, scoop it into jars or any container you choose.  I like to put mine in canning jars and some in little jars or baby food jars for individual serving sizes. 


If you like flavored yogurt, here are just a few of the many, many options.

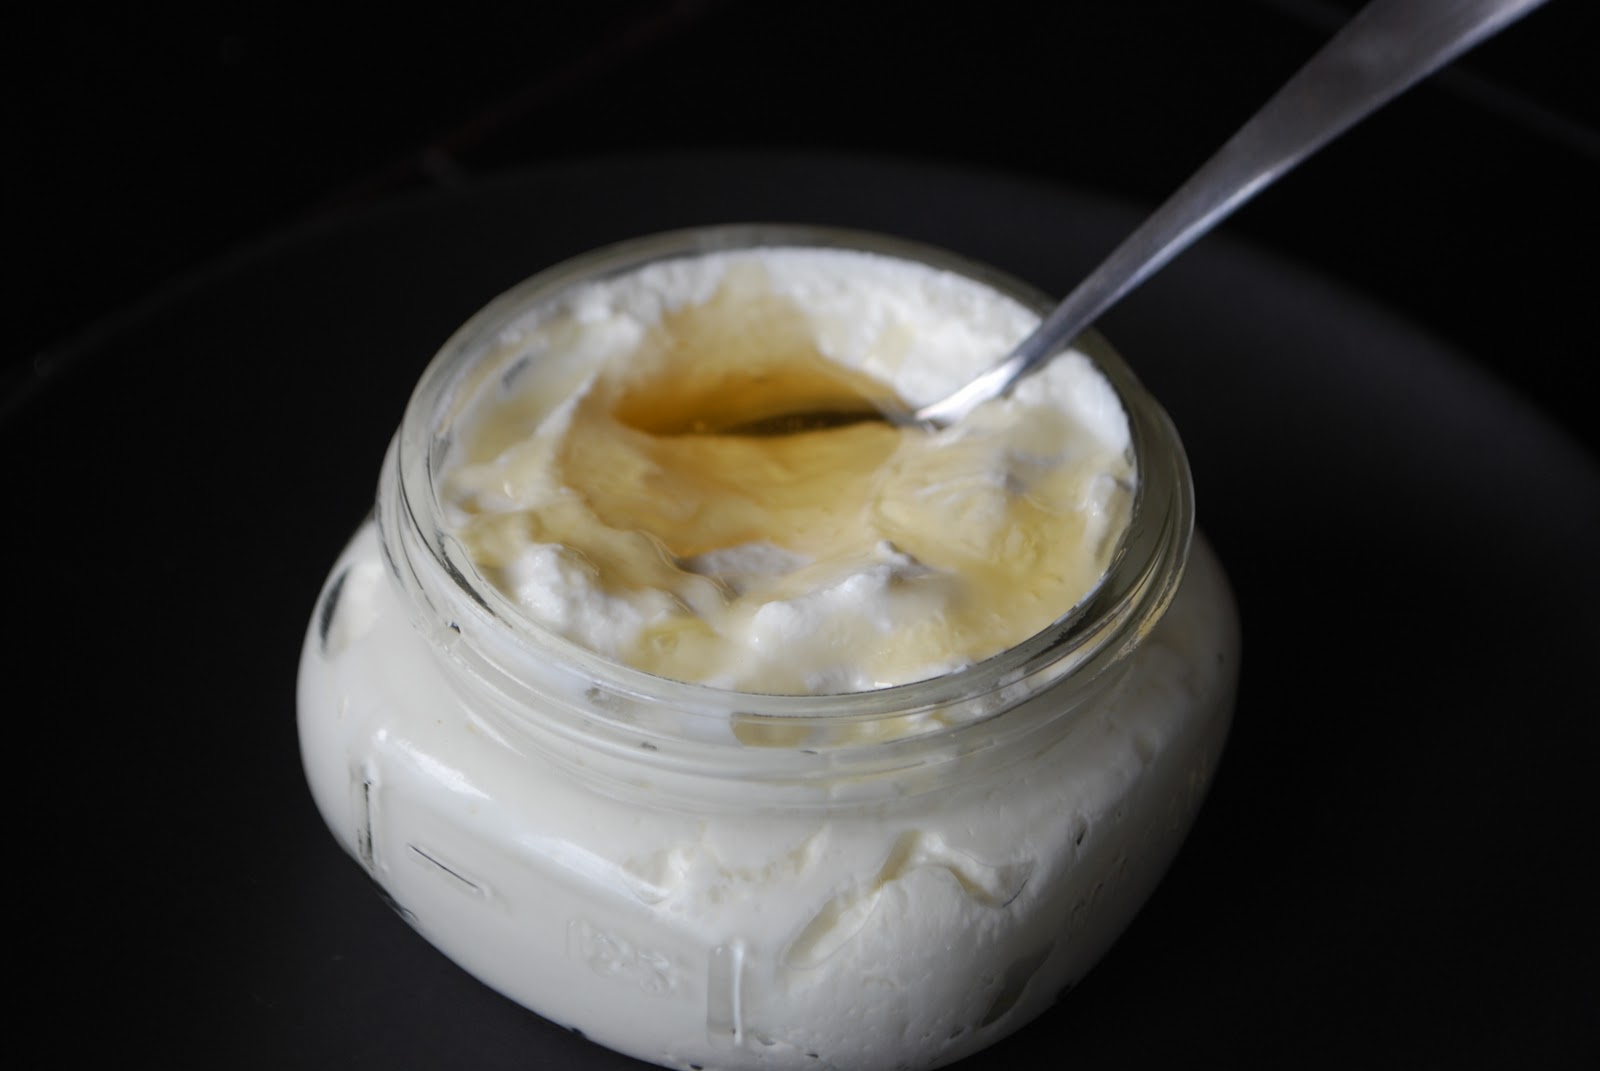
Ø      My girls like a little honey with unsweetened coconut flakes on top.

Ø      I love my topped with homemade granola, coconut flakes, chopped nuts, and chopped fruit and then drizzled with raw honey. WOW, so yummy.

Ø      Fresh fruit is always good

Ø      Pure Maple syrup